How to adjust the clutch on a 1970 Plymouth Hemi 'Cuda?
Experiencing issues with your clutch on a classic 1970 Plymouth Hemi 'Cuda can significantly impact your driving experience. Often, symptoms of a misadjusted clutch include slipping, difficulty shift…
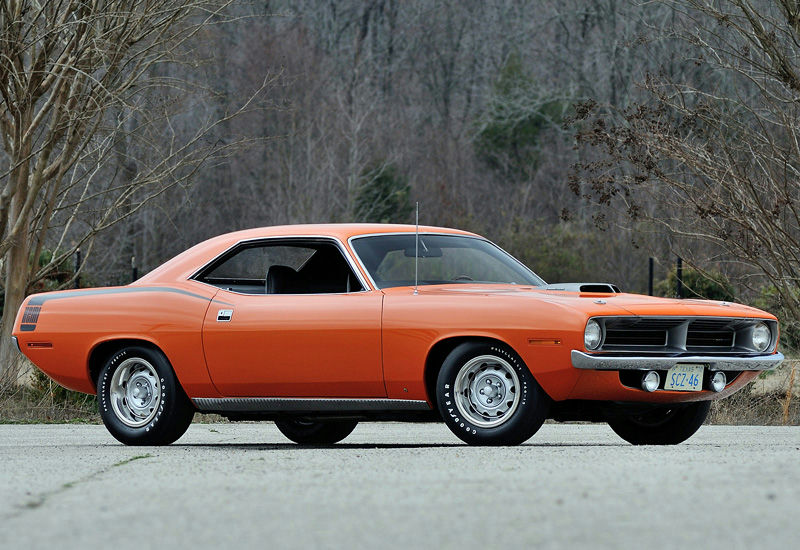
- Model
- 1970 Plymouth Hemi 'Cuda
Experiencing issues with your clutch on a classic 1970 Plymouth Hemi 'Cuda can significantly impact your driving experience. Often, symptoms of a misadjusted clutch include slipping, difficulty shifting gears, or a heavy clutch pedal. If you've noticed any of these signs, it might be time for a clutch adjustment. Here is how to solve this issue.
Step 1: Gather Necessary Tools
Before you begin, ensure you have the necessary tools:
- Wrenches and sockets (typically 1/2-inch or 9/16-inch for American cars of this era)
- Jack and jack stands
- Safety gloves and goggles
Step 2: Locate the Clutch Adjustment Mechanism
First, park the car on a flat, stable surface and engage the parking brake. Pop the hood and locate the clutch adjustment rod. On the 1970 Plymouth Hemi 'Cuda, the clutch adjustment rod is situated on the driver's side of the transmission. You’ll notice a rod running from the clutch pedal linkage towards the transmission—it should be just inside the engine bay near the firewall and extending to the transmission area.
Step 3: Lift the Car
Using a jack, lift the front of the car safely and place it on jack stands. Ensure the car is secure before crawling under it. Position yourself beneath the car so you can get a clear view of the clutch linkage connected to the clutch pedal and transmission fork.
Step 4: Identify the Adjustment Points
The clutch linkage should have two adjustment points: one near the clutch fork (part of the transmission) and one closer to the pedal. You’ll be mainly focusing on the adjustment near the clutch fork. Here, you should see a threaded rod with nuts that control the clutch engagement point.
Step 5: Loosen the Locking Nut
Using a wrench, loosen the locking nut on the threaded adjustment rod. This nut secures the position of the clutch engagement adjustment and will need to be loosened to make any changes.
Step 6: Adjust the Rod
Now that the locking nut is loose, use your hands or a wrench to turn the adjustment rod. To tighten the clutch (reducing free play), turn the rod counter-clockwise. To loosen it (increasing free play), turn the rod clockwise. The ideal free play is typically around 1-inch or 25mm at the clutch pedal, but consult your vehicle's service manual for the exact specifications.
Step 7: Tighten the Locking Nut
Once you’ve adjusted the rod to the proper length, tighten the locking nut back up against the end of the rod to secure it in place. Double-check to ensure the adjustment maintains the correct free play.
Step 8: Test the Clutch Pedal
Lower the car off the jack stands and carefully test the clutch pedal by pressing it down and shifting through the gears. You should notice smoother gear changes and a properly working clutch. If the problem persists, you may need to readjust.
By following these steps, you should be able to adjust the clutch on your 1970 Plymouth Hemi 'Cuda and restore it to optimal working condition. Ensure all adjustments are done with care and precision to maintain the integrity and performance of this classic vehicle.