How to adjust the clutch on a 1969 Pontiac GTO Judge?
Adjusting the clutch on a 1969 Pontiac GTO Judge is crucial for maintaining optimal performance and ensuring smooth gear shifts. Over time, clutch components may wear out or become misaligned, leadin…
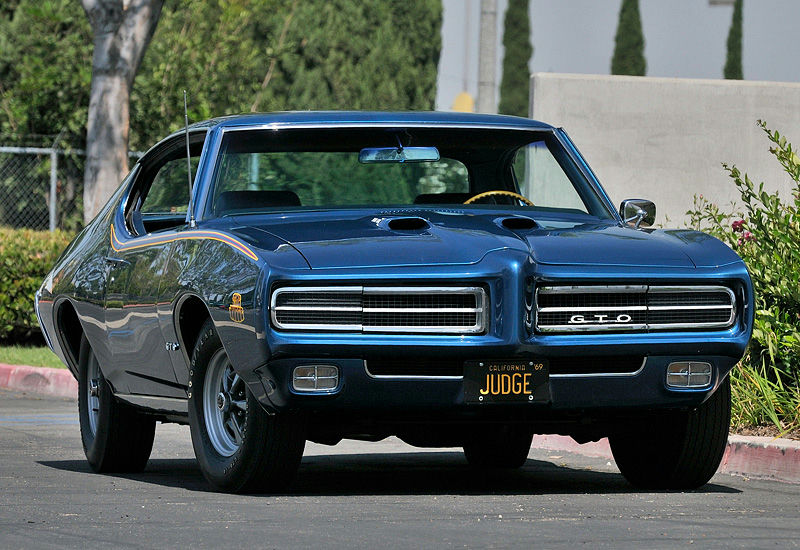
- Model
- 1969 Pontiac GTO Judge
Adjusting the clutch on a 1969 Pontiac GTO Judge is crucial for maintaining optimal performance and ensuring smooth gear shifts. Over time, clutch components may wear out or become misaligned, leading to issues such as difficulty in shifting gears or a slipping clutch. If you notice that your clutch pedal has too much free play or is engaging too quickly, it might be a sign that adjustment is needed. Here is how to solve this issue:
Step 1: Gather Necessary Tools
Before starting, make sure you have a set of wrenches, a jack, and jack stands. It's also helpful to have a flashlight or work light to see better under the vehicle.
Step 2: Locate the Clutch Adjustment Mechanism
First, locate the clutch linkage adjustment mechanism. This part is situated underneath the car, near the clutch fork which extends out of the bell housing. The linkage is a rod that connects the clutch pedal to the clutch fork. The adjustment point usually has a threaded rod with two nuts - one acting as a locknut and another for adjusting.
Step 3: Elevate the Vehicle
Safely elevate the front of the GTO using a jack and secure it with jack stands. Make sure the car is stable before crawling underneath. Use the flashlight to get a clear view of the clutch linkage.
Step 4: Inspect the Clutch Pedal Free Play
Before making any adjustments, check the clutch pedal free play. It should generally be about 1 inch of free play before you start feeling resistance. To check, press the clutch pedal with your hand until you feel it encounter resistance.
Step 5: Loosen the Locknut
Locate the locknut on the threaded rod of the clutch linkage. Using a wrench, loosen this locknut to free the adjustment nut. This nut helps to prevent the adjustment from moving once it is set.
Step 6: Adjust the Clutch Linkage
After loosening the locknut, turn the adjustment nut to alter the length of the linkage:
- Turn the adjustment nut clockwise to decrease free play (tighten the linkage).
- Turn the adjustment nut counterclockwise to increase free play (loosen the linkage).
Make small adjustments and recheck the free play at the clutch pedal until you achieve the desired 1-inch free play.
Step 7: Tighten the Locknut
Once the proper adjustment has been made, hold the adjustment nut in place with one wrench and tighten the locknut with another wrench to secure the adjustment.
Step 8: Test the Clutch
Lower the vehicle safely and test the clutch pedal by pressing it. Make sure it feels smooth and that gears engage properly without slipping or difficulty. If needed, make minor adjustments using the same procedure.
Step 9: Take a Test Drive
Finally, take the car for a test drive to ensure the clutch operates smoothly under actual driving conditions. Pay attention to the clutch engagement and gear shifting.
By following these steps, you can ensure that the clutch on your 1969 Pontiac GTO Judge is properly adjusted, which will contribute to smoother driving and prolong the lifespan of the clutch components.