How to adjust the clutch on a 1969 Oldsmobile 442?
When you own a classic car like the 1969 Oldsmobile 442, maintaining its performance and smooth drivability is crucial. One of the key components responsible for smooth shifting is the clutch. Over t…
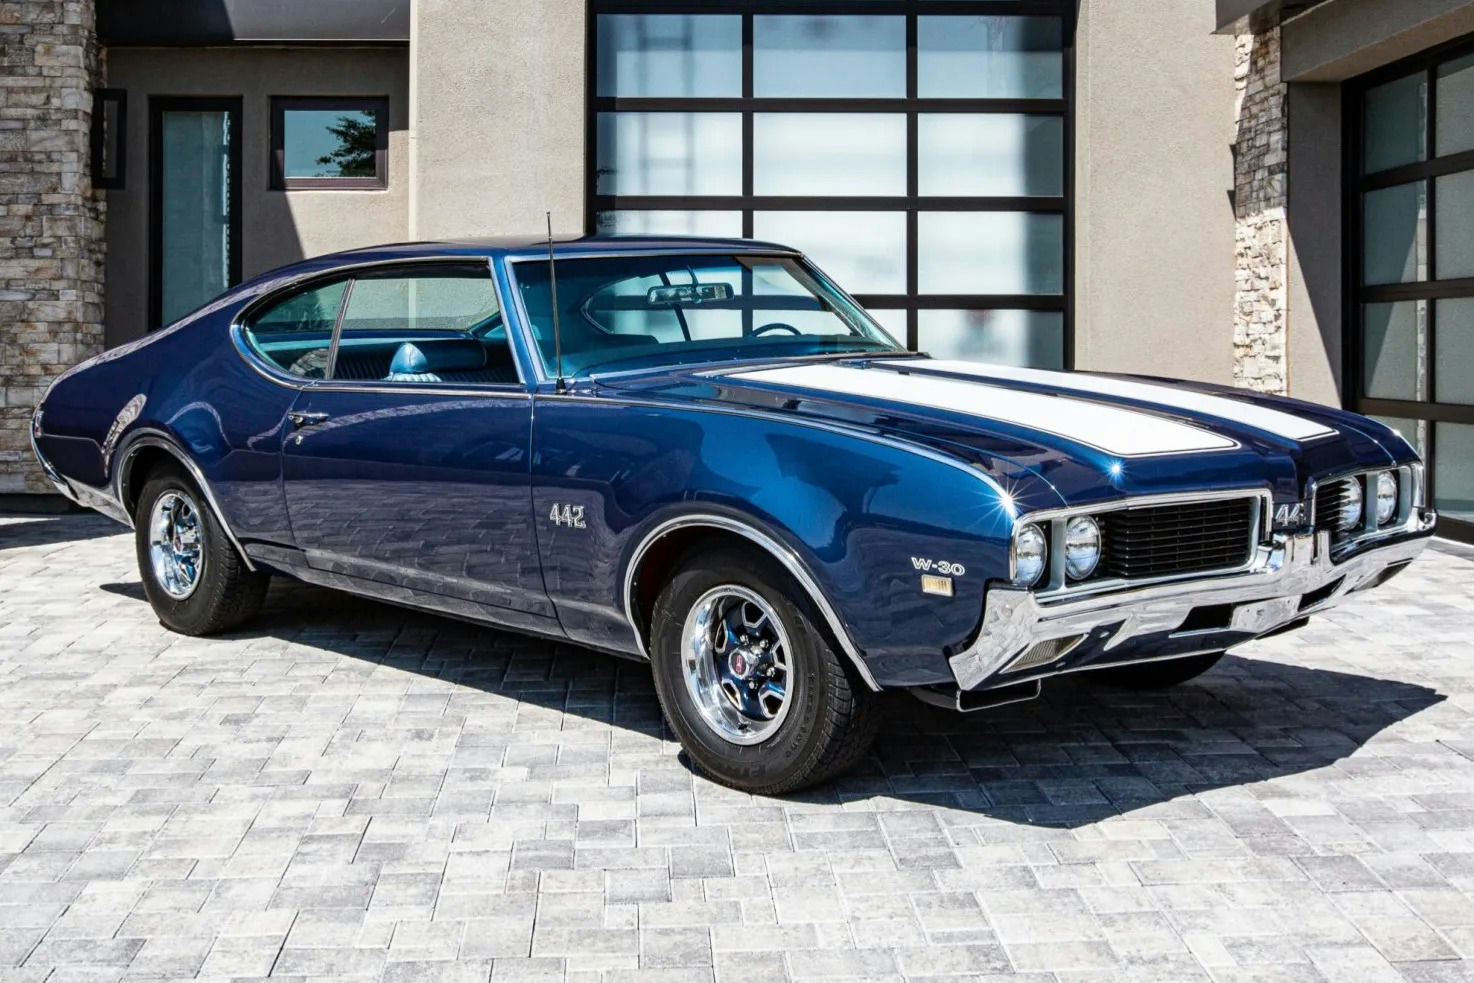
- Model
- 1969 Oldsmobile 442
When you own a classic car like the 1969 Oldsmobile 442, maintaining its performance and smooth drivability is crucial. One of the key components responsible for smooth shifting is the clutch. Over time, the clutch can become misaligned or worn out, leading to issues like difficulty in shifting gears, clutch slipping, or a spongy clutch pedal. If you've noticed any of these symptoms, it may be time to adjust the clutch. Here is how to solve this issue and get your classic car back to its optimal performance.
Step 1: Locate the Clutch Adjustment Components
First, park your car on a flat surface and ensure it is securely in place to avoid any accidents. Open the hood of your 1969 Oldsmobile 442 to access the engine bay. The clutch adjustment components you need to focus on are the clutch linkage and the clutch fork. The clutch linkage is typically a rod or a cable that connects the clutch pedal to the clutch fork, which is located near the transmission bell housing. You may find these components on the driver's side of the engine bay.
Step 2: Check the Clutch Pedal Free Play
Before making any adjustments, measure the clutch pedal free play. This is the distance the clutch pedal moves before you feel resistance. Ideally, the free play should be about 1 inch. If it's more or less, you'll need to adjust it. To measure, press the clutch pedal lightly with your hand and see how far it travels before you feel resistance.
Step 3: Adjust the Clutch Linkage Rod
Locate the clutch linkage rod, which usually appears as a metal rod connected to the clutch pedal. Follow this rod to the point where it attaches to the clutch fork. On some models, you may find an adjustment nut or a turnbuckle on this rod.
- To adjust, loosen the lock nut with a wrench.
- Turn the adjustment nut or turnbuckle to change the length of the linkage rod. Turning it clockwise generally decreases free play, while turning it counterclockwise increases free play.
- Once adjustments are made, tighten the lock nut securely.
Step 4: Test the Clutch Pedal Free Play Again
After adjusting the rod, get back inside your car and press the clutch pedal to measure the free play again. Ensure it now falls within the recommended 1 inch. If it’s still not correct, repeat Step 3.
Step 5: Inspect the Clutch Release Bearing
While under the hood, it’s prudent to inspect the clutch release bearing for any signs of wear or damage. The bearing is situated at the clutch fork and may require some disassembly to thoroughly inspect. If the bearing is worn, replacing it would be necessary to ensure smooth operation.
Step 6: Test Drive
Once you've adjusted the clutch to the correct specifications, take your Oldsmobile 442 for a test drive. Pay attention to the ease of shifting gears and the feel of the clutch pedal. If the problem persists, further diagnosis might be necessary, like checking the clutch plate or consulting a professional mechanic.
By following these steps, you can effectively adjust the clutch on your 1969 Oldsmobile 442 and maintain its classic performance. Regular maintenance ensures you can continue to enjoy a smooth driving experience for years to come.