How to adjust the clutch on a 1969 Chevrolet Camaro ZL1?
If you’re experiencing issues with your 1969 Chevrolet Camaro ZL1 such as difficulty in shifting gears, a clutch pedal that feels either too loose or too tight, or if the clutch is slipping, it might…
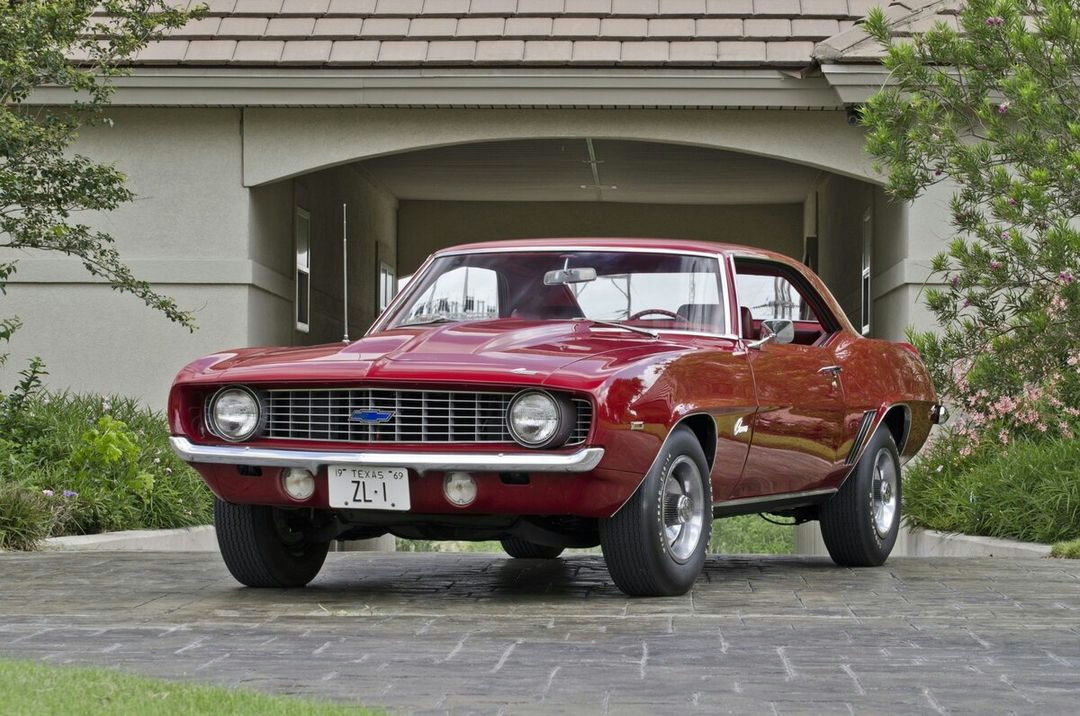
- Model
- 1969 Chevrolet Camaro ZL1
If you’re experiencing issues with your 1969 Chevrolet Camaro ZL1 such as difficulty in shifting gears, a clutch pedal that feels either too loose or too tight, or if the clutch is slipping, it might be indicative of the clutch needing adjustment. Over time, the clutch linkage can wear out or the adjustments can become misaligned, affecting the overall performance of your vehicle. Here is how to tackle this issue:
Step 1: Gather Necessary Tools
Before starting, ensure you have the essential tools at your disposal. You will need a wrench set, a flathead screwdriver, and some penetrating oil.
Step 2: Locate the Clutch Linkage
You will find the clutch linkage underneath the car, connecting the clutch pedal to the clutch fork. The linkage consists of a series of levers and rods that transfer the movement of your foot on the pedal to the clutch mechanism.
Step 3: Identify the Adjustment Points
The key adjustment point here is a threaded rod with a locknut located near the clutch fork. On the ZL1, this is typically found on the driver’s side of the transmission, a metal rod with threads going into the clutch fork.
Step 4: Lubricate the Threaded Rod
Using penetrating oil, lubricate the threaded rod to ensure it turns smoothly. This can be identified as the rod extending from the clutch fork towards the firewall.
Step 5: Loosen the Locknut
Use a wrench to loosen the locknut on the threaded rod. The locknut is situated where the rod meets the clutch fork. Turning it counter-clockwise will free the rod for adjustment.
Step 6: Adjust the Clutch Free Play
Rotate the threaded rod to adjust the clutch pedal free play. Turning the rod clockwise will decrease free play, causing the clutch to engage higher up in the pedal travel. Conversely, turning it counter-clockwise will increase free play, causing the clutch to engage lower in the pedal travel. Aim for approximately 1 inch of free play at the top of the pedal.
Step 7: Tighten the Locknut
Once the desired adjustment is achieved, tighten the locknut back in place to secure the threaded rod’s position. Ensure that the adjustment does not change as you secure the locknut.
Step 8: Test the Clutch Pedal
Press the clutch pedal a few times to ensure the free play is appropriate and the clutch engages and disengages smoothly. If further adjustment is needed, repeat Steps 5-7.
Step 9: Check Under Car Conditions
After adjusting, take a look under the car once more to ensure all linkage components are secure, there are no leaks or signs of excessive wear, and the adjustment is holding.
Conclusion
Regular maintenance and adjustments can significantly extend the life of your clutch and ensure smooth vehicle operation. Periodically checking your clutch linkage and making necessary adjustments will keep your 1969 Chevrolet Camaro ZL1 performing at its best.
Following these steps carefully will ensure your classic Camaro ZL1 has a correctly adjusted clutch, enhancing your driving experience.