How to adjust the carburetor on a 1970 Dodge Challenger R/T?
When driving a classic 1970 Dodge Challenger R/T, maintaining the carburetor is crucial to ensure optimal engine performance. If you're experiencing issues like rough idling, poor acceleration, or st…
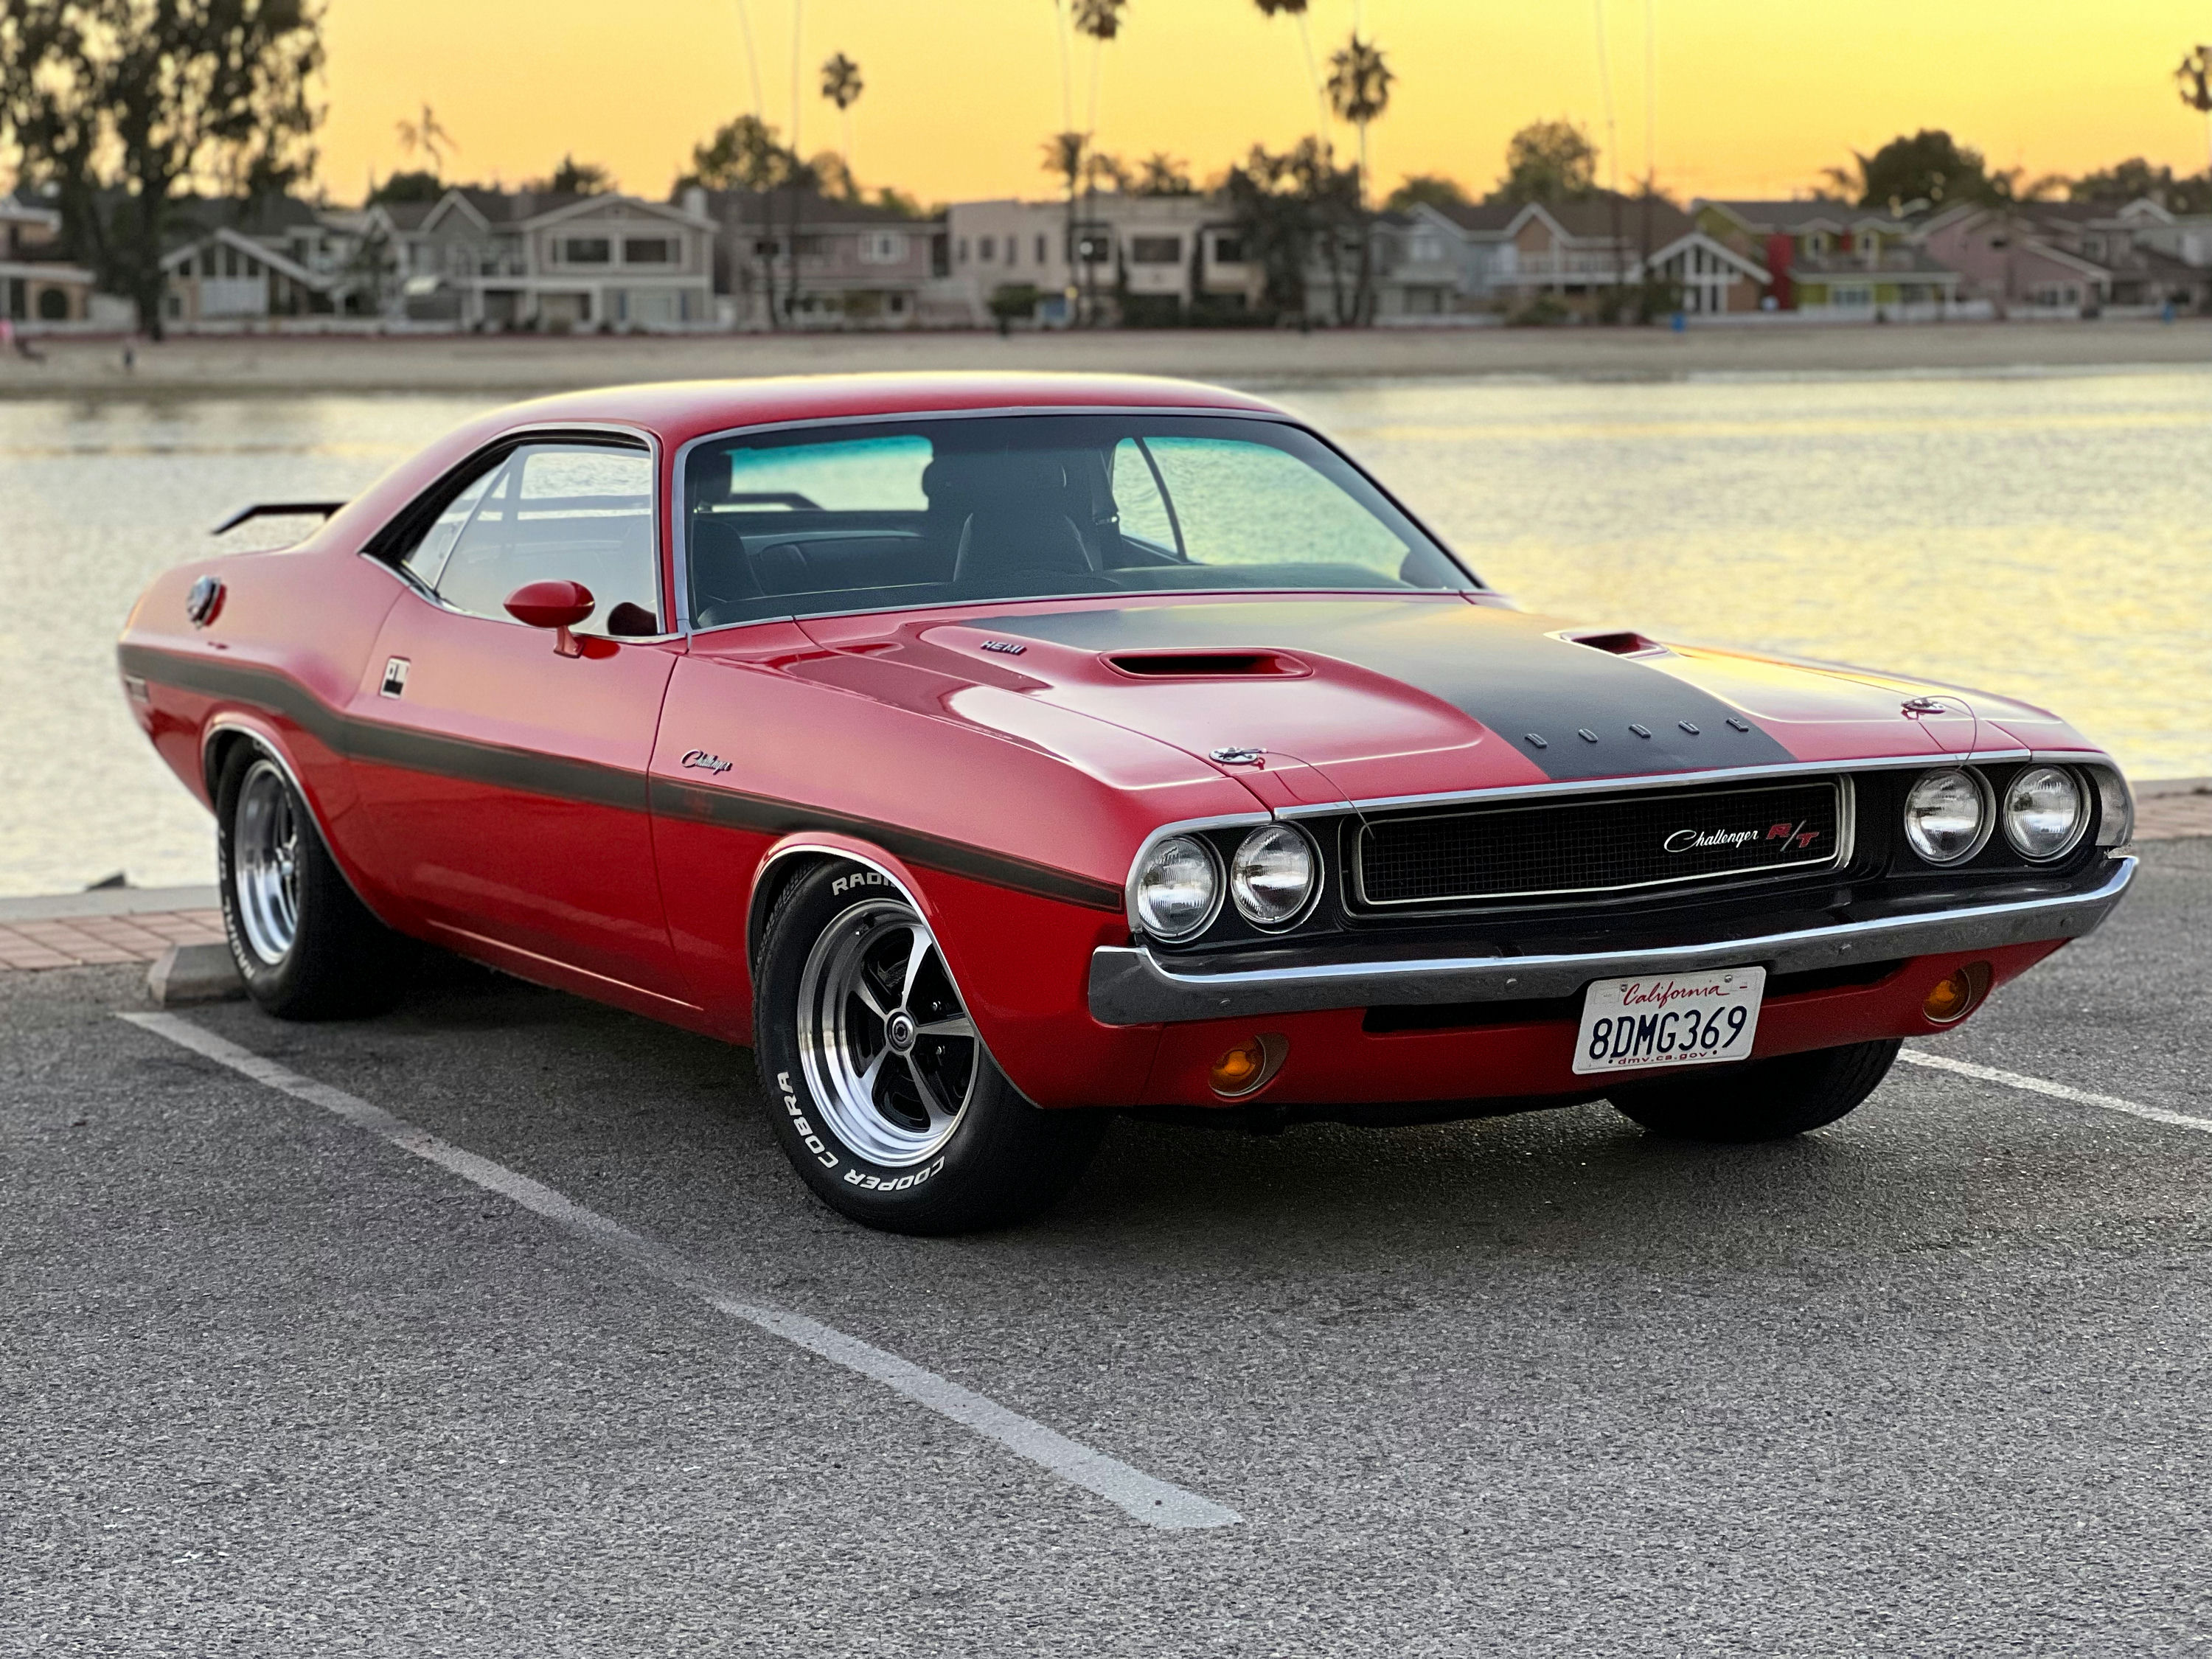
- Model
- 1970 Dodge Challenger R/T
When driving a classic 1970 Dodge Challenger R/T, maintaining the carburetor is crucial to ensure optimal engine performance. If you're experiencing issues like rough idling, poor acceleration, or stalling, it might be time to adjust the carburetor. A misadjusted carburetor can lead to fuel inefficiency and reduced engine power. Here is how to solve this issue:
Tools and Materials Needed
- Screwdriver (usually flat-head)
- Tachometer (optional, but recommended)
- Vacuum gauge (optional, for fine-tuning)
Step 1: Locate the Carburetor
First, open the hood of your Dodge Challenger and look for the carburetor. It is typically situated on top of the engine and connected to the air filter. The air filter is housed in a round or oval-shaped metal cover. Remove this cover to access the carburetor beneath it.
Step 2: Identify the Adjustment Screws
You'll find several screws on the body of the carburetor. The two primary adjustments are:
- Idle Mixture Screws: These are often found on the base plate of the carburetor and control the air-fuel mixture at idle. There are generally two screws, one for each barrel of the carburetor.
- Idle Speed Screw: This screw is usually located on the throttle linkage and controls the idle speed by adjusting the position of the throttle plates.
Step 3: Warm Up the Engine
Start the engine and let it run until it reaches its operating temperature. This ensures that the adjustments you make are accurate under normal running conditions. You can observe the temperature gauge on the dashboard to confirm when the engine is warm.
Step 4: Adjust the Idle Speed Screw
Locate the idle speed screw on the throttle linkage. Turn it clockwise to increase the idle speed or counterclockwise to decrease it. Adjust the screw until the engine idles at the manufacturer's recommended speed, usually around 600-800 RPM for the 1970 Dodge Challenger. If you have a tachometer, use it to ensure precision.
Step 5: Adjust the Idle Mixture Screws
Turn each idle mixture screw clockwise until you feel a slight resistance; this is the fully closed position. Then, turn each screw counterclockwise about 1.5 turns to get a baseline setting.
- Using a vacuum gauge: Attach the vacuum gauge to a vacuum port on the intake manifold. Adjust each idle mixture screw slowly until you achieve the highest steady vacuum reading.
- Without a vacuum gauge: Turn each screw in small increments while listening to the engine’s idle. Adjust until you achieve the smoothest, most stable idle. Be prepared to make small changes and listen closely to the engine's response.
Step 6: Recheck the Idle Speed
After adjusting the idle mixture, recheck the idle speed. Adjust the idle speed screw again if necessary to maintain the desired RPM.
Step 7: Test Drive
Once all adjustments have been made, close the hood and take your Dodge Challenger for a test drive. Monitor the car's performance, focusing on acceleration, idling, and overall smoothness. Make further minor adjustments if necessary.
Step 8: Final Check
After finishing the test drive, do a final check while the engine is idling in park. Ensure the engine runs smoothly without any signs of hesitation or stalling.
By following these steps, you should be able to effectively adjust the carburetor on your 1970 Dodge Challenger R/T, ensuring it runs smoothly and efficiently.