How to adjust the carburetor on a 1969 Oldsmobile 442?
Adjusting the carburetor on a 1969 Oldsmobile 442 is an essential task to ensure the engine runs smoothly and efficiently. If the carburetor is not properly adjusted, you might experience symptoms li…
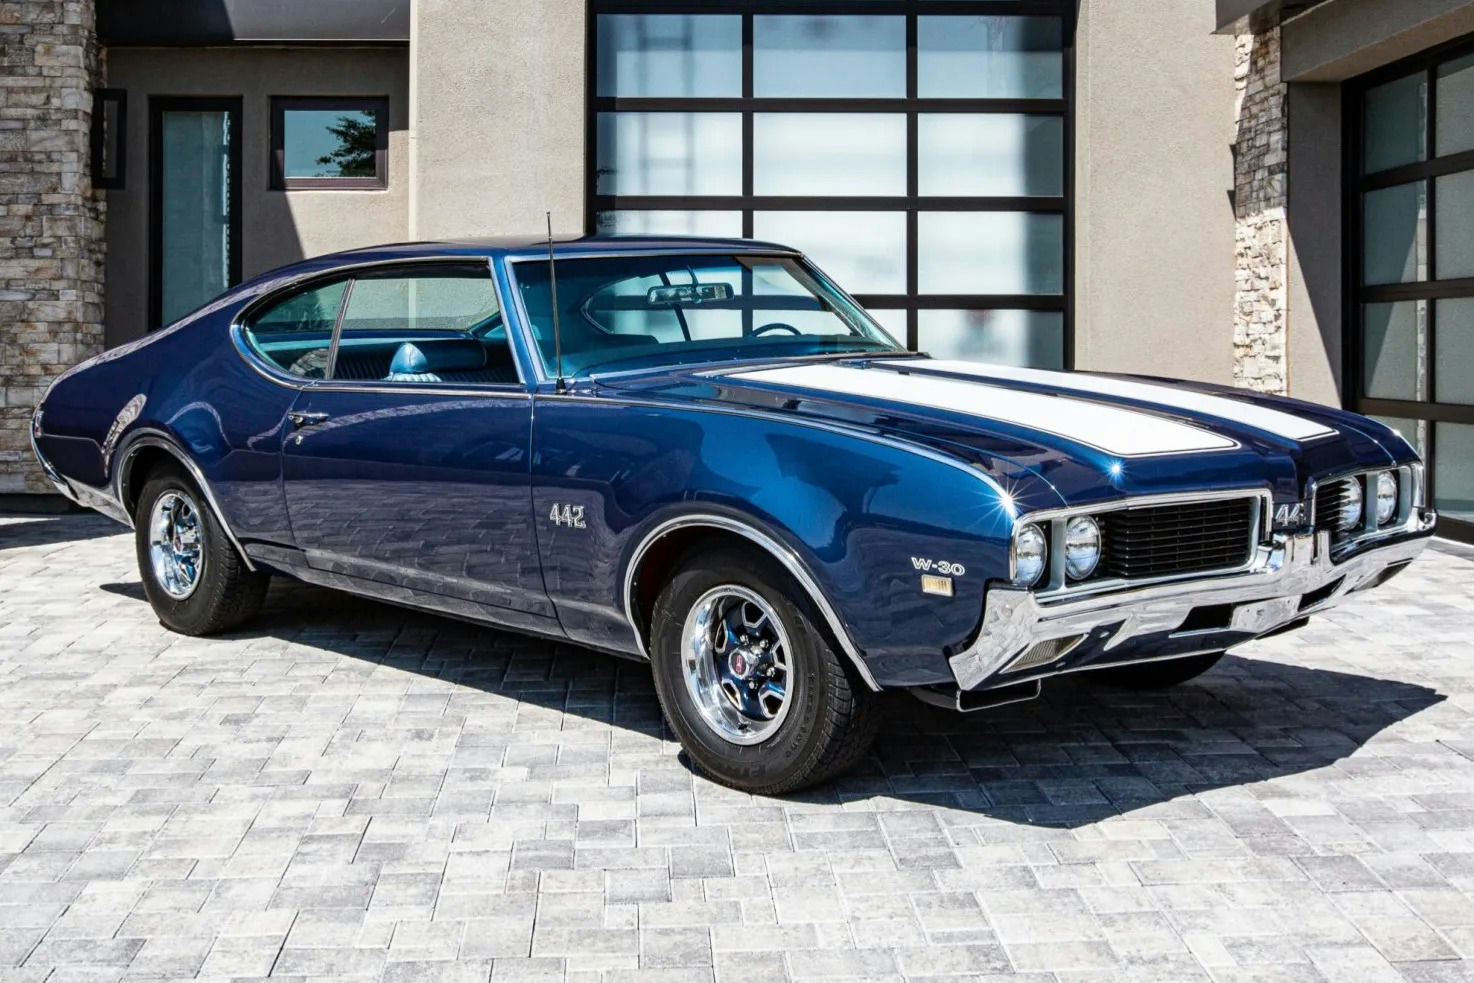
- Model
- 1969 Oldsmobile 442
Adjusting the carburetor on a 1969 Oldsmobile 442 is an essential task to ensure the engine runs smoothly and efficiently. If the carburetor is not properly adjusted, you might experience symptoms like rough idling, poor fuel economy, engine stalling, or a decrease in overall performance. These issues can be identified by observing changes in the engine's behavior, such as difficulty starting the car or experiencing hesitation during acceleration. To address these problems, it’s necessary to fine-tune the carburetor. Here is how to solve this issue:
Step 1: Locate the Carburetor
To start, open the hood of your 1969 Oldsmobile 442. The carburetor is typically located on top of the engine, between the air filter and the intake manifold. It looks like a metallic, boxy device with various screws and linkages. You will need to remove the air filter housing to gain clear access to the carburetor.
Step 2: Identify Adjustment Screws
The carburetor has two main adjustment screws: the idle mixture screws and the idle speed screw. The idle mixture screws are usually located at the base of the carburetor, one on each side. These screws are typically brass and have spring-loaded heads. The idle speed screw is usually found on the linkage side of the carburetor; it controls the throttle plate's position and is often a single, larger screw.
Step 3: Warm Up the Engine
Start the engine and allow it to reach normal operating temperature. This ensures that adjustments are made under conditions similar to actual driving. Make sure the vehicle is in "Park" and the parking brake is engaged.
Step 4: Adjust Idle Mixture Screws
Turn each idle mixture screw clockwise until it gently seats, then back it out about 1.5 to 2 turns as a baseline. Using a flat-head screwdriver, adjust one screw at a time. Turn the screw slowly clockward until the engine starts to stumble and then counterclockwise until you reach the highest, smoothest idle. Perform this for both screws to balance the mixture.
Step 5: Adjust Idle Speed Screw
With the engine running, locate the idle speed screw on the carburetor’s linkage side. Using a screwdriver, turn the screw to adjust the engine RPM to the manufacturer’s recommended idle speed (usually between 600-800 RPM for this model). You can verify idle speed using a tachometer. Adjust the screw clockwise to increase RPM and counterclockwise to decrease RPM.
Step 6: Fine Tune and Test Drive
After making initial adjustments, test drive the vehicle to see how it performs under real conditions. Pay attention to how the engine responds during acceleration and deceleration. Return to the carburetor and make any minor tweaks needed for optimal performance.
Note
- Always follow safety protocols. Wear gloves and eye protection.
- If you're unsure or uncomfortable with the process, consult a professional mechanic.
By following these steps, you should be able to properly adjust the carburetor on your 1969 Oldsmobile 442, resulting in better engine performance and efficiency.