How do you update the NissanConnect infotainment system software on a 2019 Nissan Rogue?
Step 1: Check for Updates Before you begin, check to see if there’s a new software update available for your 2019 Nissan Rogue’s NissanConnect infotainment system. You can do this by visiting the off…
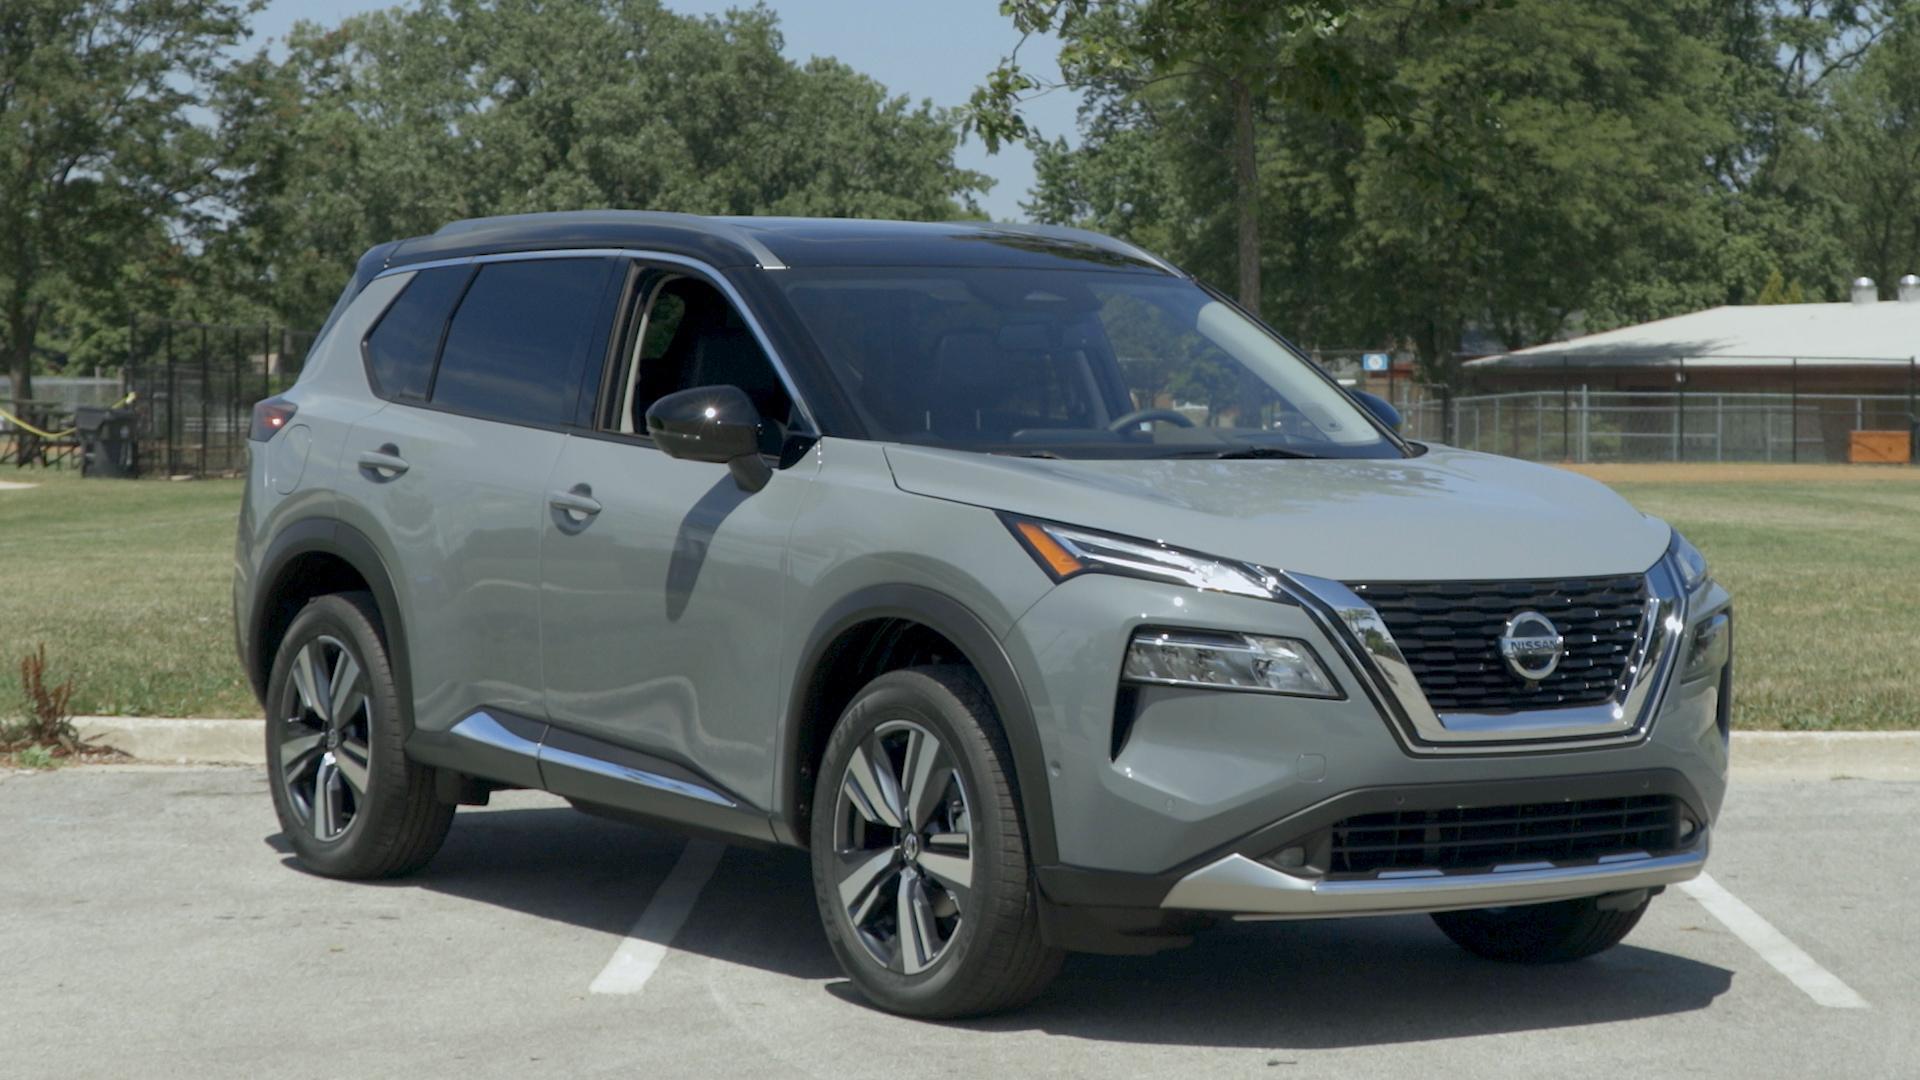
Step 1: Check for Updates
- Before you begin, check to see if there’s a new software update available for your 2019 Nissan Rogue’s NissanConnect infotainment system. You can do this by visiting the official Nissan website or consulting your vehicle’s owner’s manual for details.
Step 2: Gather Necessary Equipment
- You will need a USB drive with at least 4GB of free space. Make sure the USB drive is formatted to FAT32, as this is the format that is compatible with the NissanConnect system.
- Ensure your vehicle is parked in a safe, well-ventilated area, ideally with a stable WiFi connection if needed.
Step 3: Download the Update Software
- Visit the Nissan owner's portal on the official Nissan website. You may need to create an account or log in to an existing one.
- From the portal, navigate to the section where software updates are available and choose the appropriate update for the 2019 Nissan Rogue.
- Download the software update file to your computer. Once the download is complete, transfer the file to your USB drive.
Step 4: Prepare Your Vehicle
- Turn the ignition to the “ON” position, but do not start the engine. This will power up the infotainment system.
- Ensure all other functions in your vehicle, such as Bluetooth and audio, are turned off to prevent any interruptions during the update process.
Step 5: Insert the USB Drive
- Insert the USB drive containing the software update into one of the USB ports in your Nissan Rogue.
Step 6: Start the Update Process
- The NissanConnect infotainment system should automatically detect the update file on the USB drive. A prompt will appear on the screen asking if you want to update the software.
- Follow the on-screen instructions to begin the update process. This may take several minutes, so be patient and avoid turning off the vehicle or removing the USB drive during this time.
Step 7: Complete the Update
- Once the update is complete, the system will notify you. At this point, you can remove the USB drive.
- Restart your vehicle’s infotainment system to ensure the update has been successfully applied.
- Check the system settings to verify that the software version matches the latest update you installed.
Step 8: Final Checks
- Restore any settings or preferences that may have been reset during the update process.
- Re-enable any functions you turned off previously, such as Bluetooth and audio.
- Take a few minutes to test the system and ensure all features are functioning correctly.