How do you replace the exterior air filter on a 2019 BMW 3 Series?
Locate the Air Filter Housing Open the hood of your 2019 BMW 3 Series by pulling the hood release lever inside the cabin. Secure the hood with the support rod or hood struts. Locate the air filter ho…
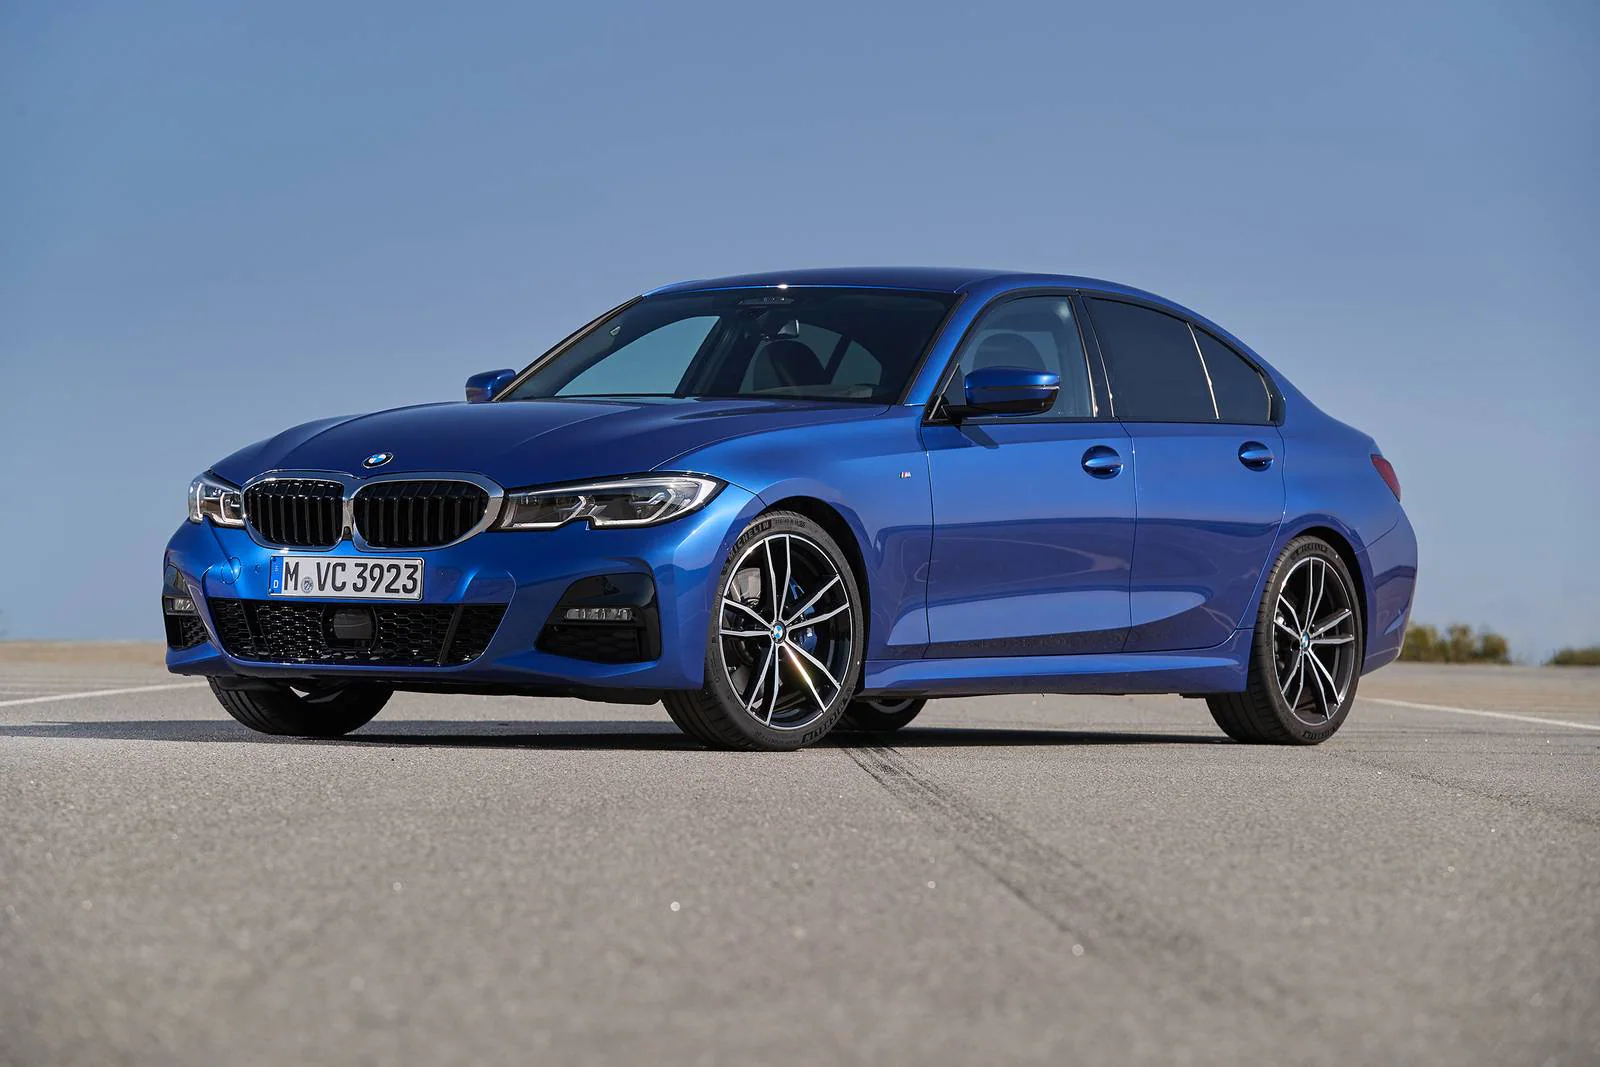
Locate the Air Filter Housing
- Open the hood of your 2019 BMW 3 Series by pulling the hood release lever inside the cabin.
- Secure the hood with the support rod or hood struts.
- Locate the air filter housing. This is generally a black box near the front of the engine bay, often on one side or the other.
Remove the Air Filter Housing Cover
- Use a screwdriver to loosen the screws or clamps that secure the cover of the air filter housing. Some models may use clips that can be opened by hand.
- Carefully lift off the air filter housing cover and set it aside.
Remove the Old Air Filter
- Take out the old air filter from the housing. Note the orientation of the filter for proper installation of the new one.
- Inspect the old air filter. If it's dirty or clogged, it's indeed time to replace it.
Clean the Air Filter Housing
- Before installing the new air filter, use a clean, dry cloth to wipe out the inside of the air filter housing. Make sure there’s no debris or dirt inside.
Install the New Air Filter
- Place the new air filter into the housing. Ensure it sits correctly and follows the same orientation as the old one.
Replace the Air Filter Housing Cover
- Reattach the cover of the air filter housing, ensuring it’s correctly aligned and secured with screws, clamps, or clips.
- Double-check to make sure the cover is tightly secured to prevent any air leaks.
Close the Hood
- Once everything is secured, lower the hood and ensure it latches properly.
Maintenance Tip
- It’s a good practice to replace the air filter every 15,000 to 30,000 miles, or as recommended by your BMW’s owner manual. If you drive in dusty conditions, consider checking and replacing it more frequently.